My first MeshCore node, maybe my town's first repeater
MeshCore is a free, decentralised, no-Internet, no-SIM messaging network. And I just set up my first personal node, and I suspect my home town, Exmouth's, first repeater. Maybe?
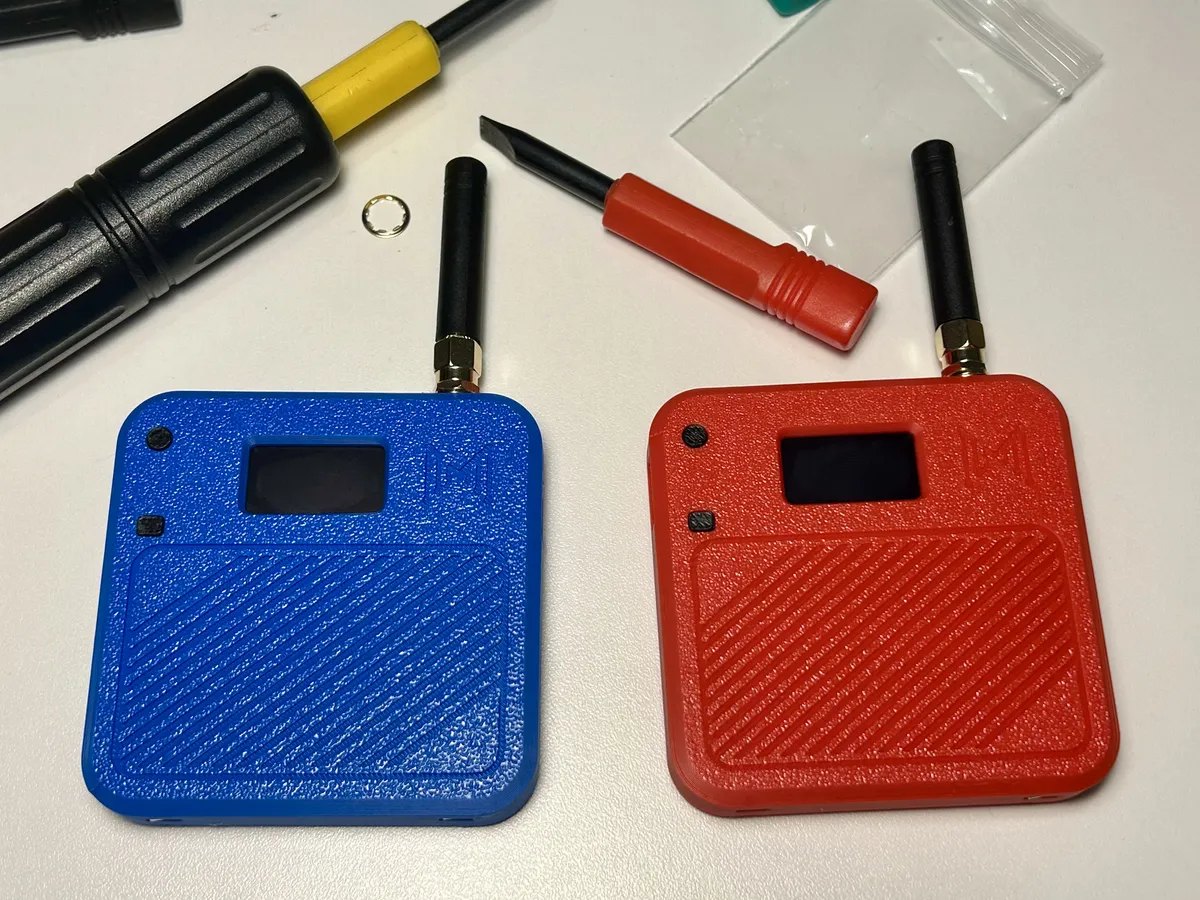
Here's the kit I bought: two Heltec v3 boards, two batteries, two antennas, a blue case to host the repeater and a neato red case for my carry-around personal node.

So let's started with the personal node!
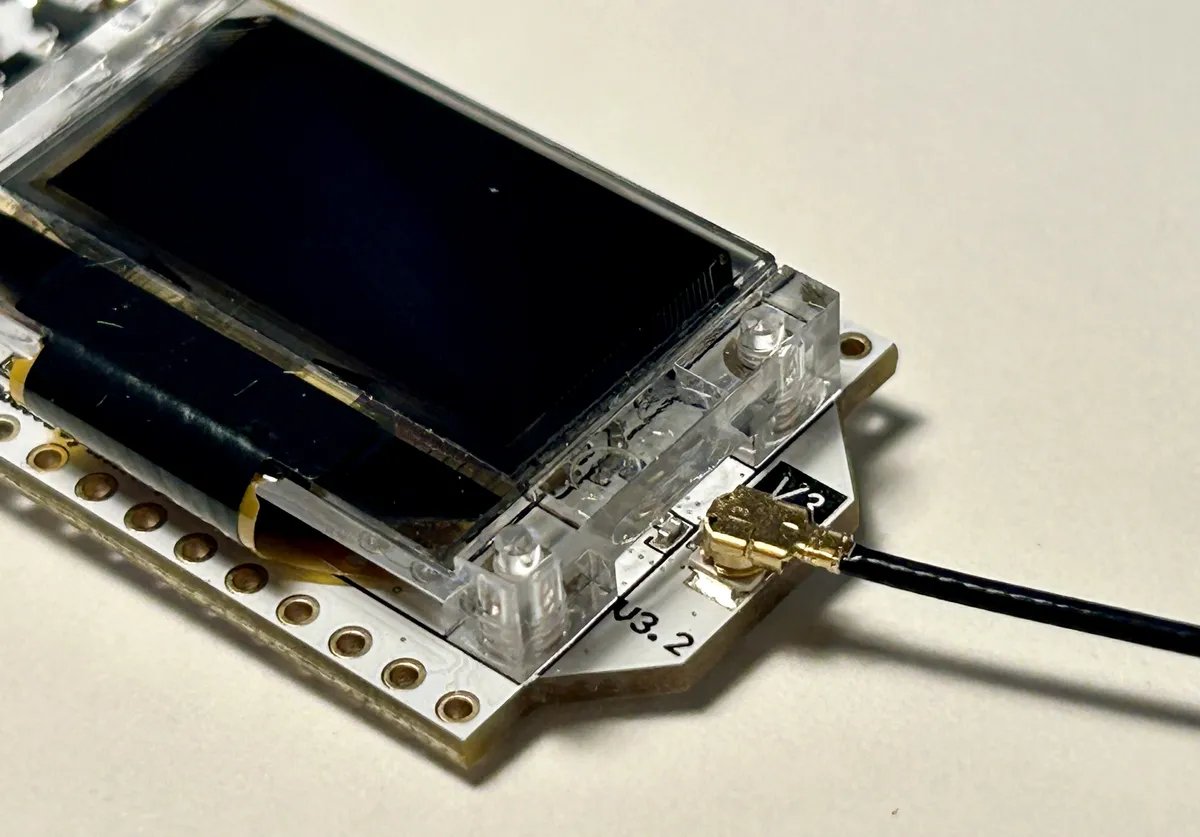
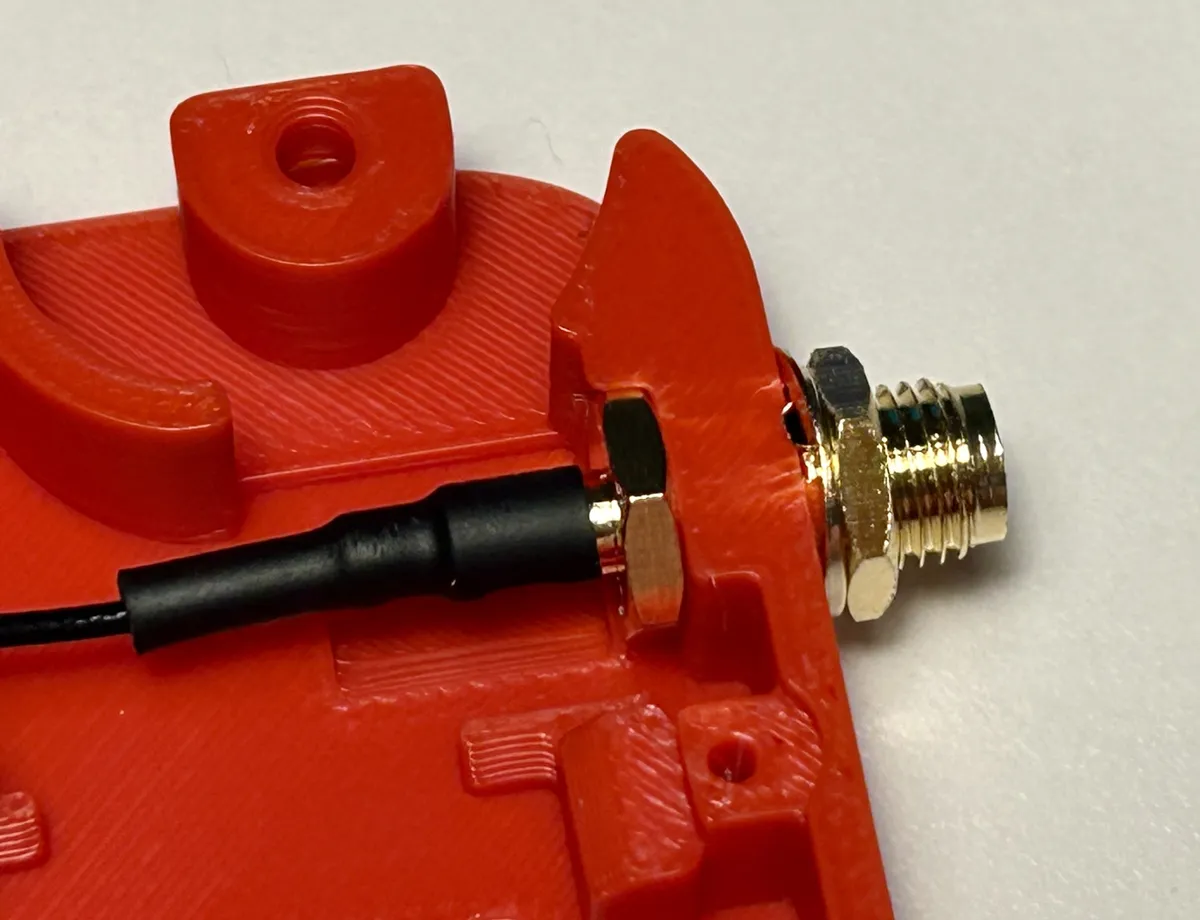
Before anything else, it's critical to get the antenna connected so the thing doesn't burn itself out.
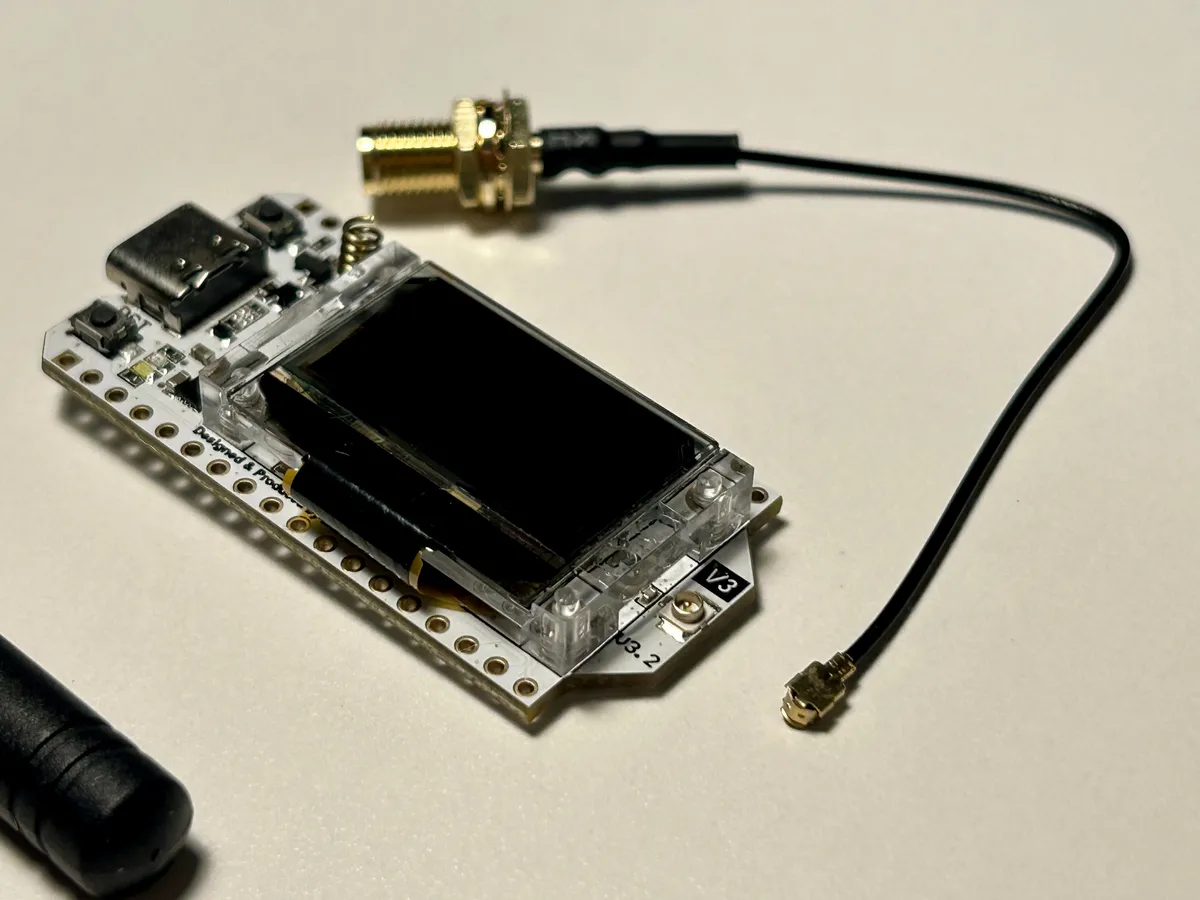
It's fiddly, but it just snaps on. Get the stubby aerial screwed onto the other end, too.
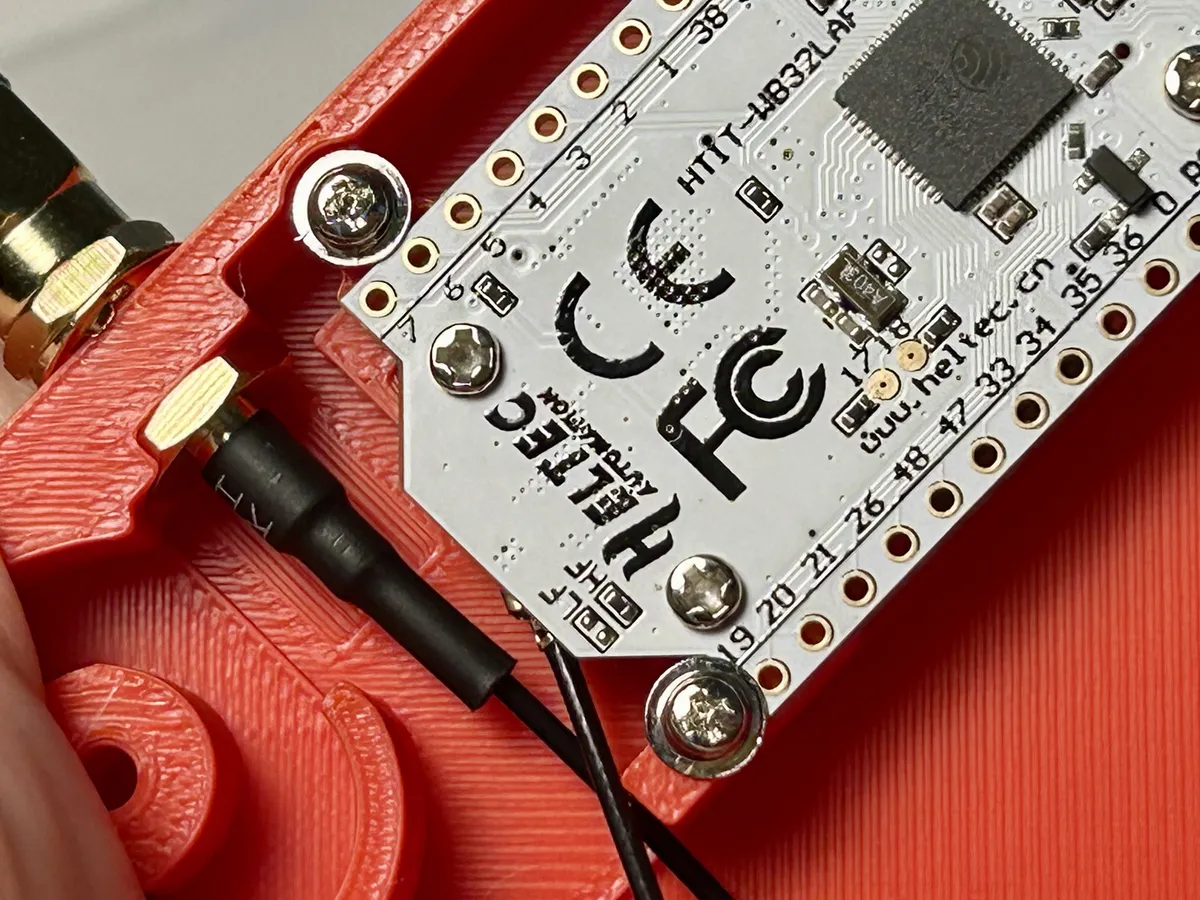
To connect the battery, flip the board over.
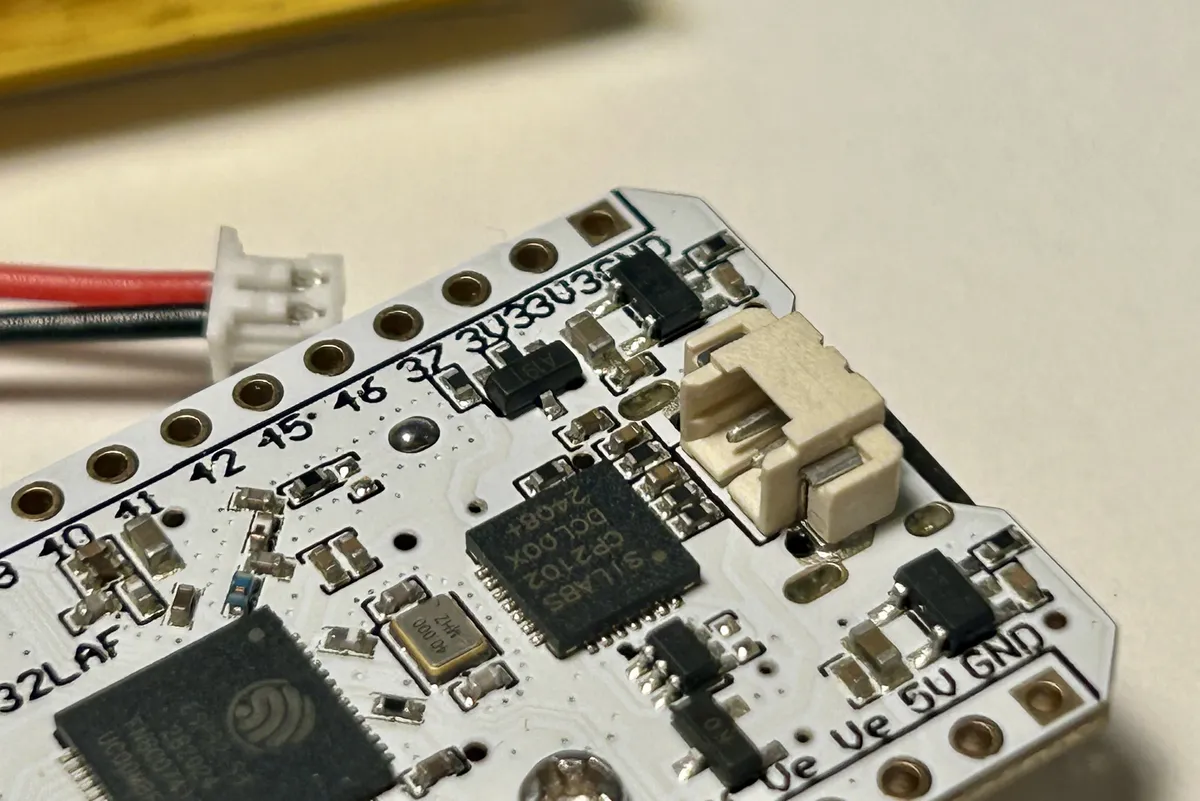
There's only one port back there, so whack it in.
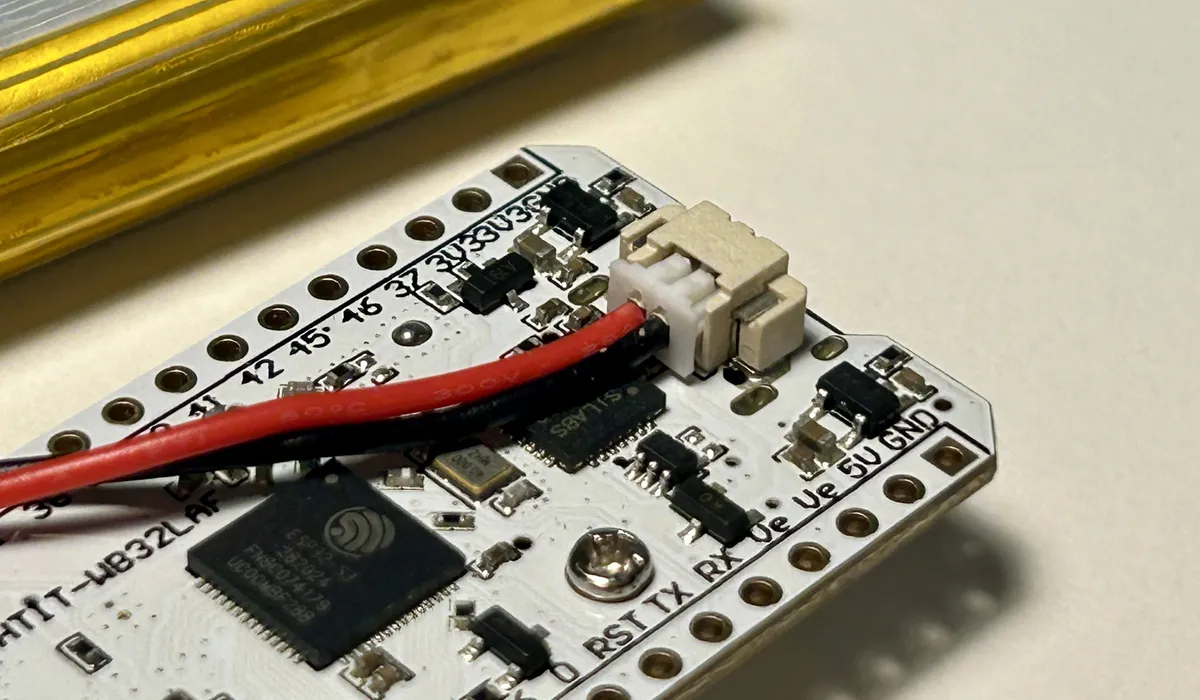
You'll know you've got it right if the board immediately boots up!
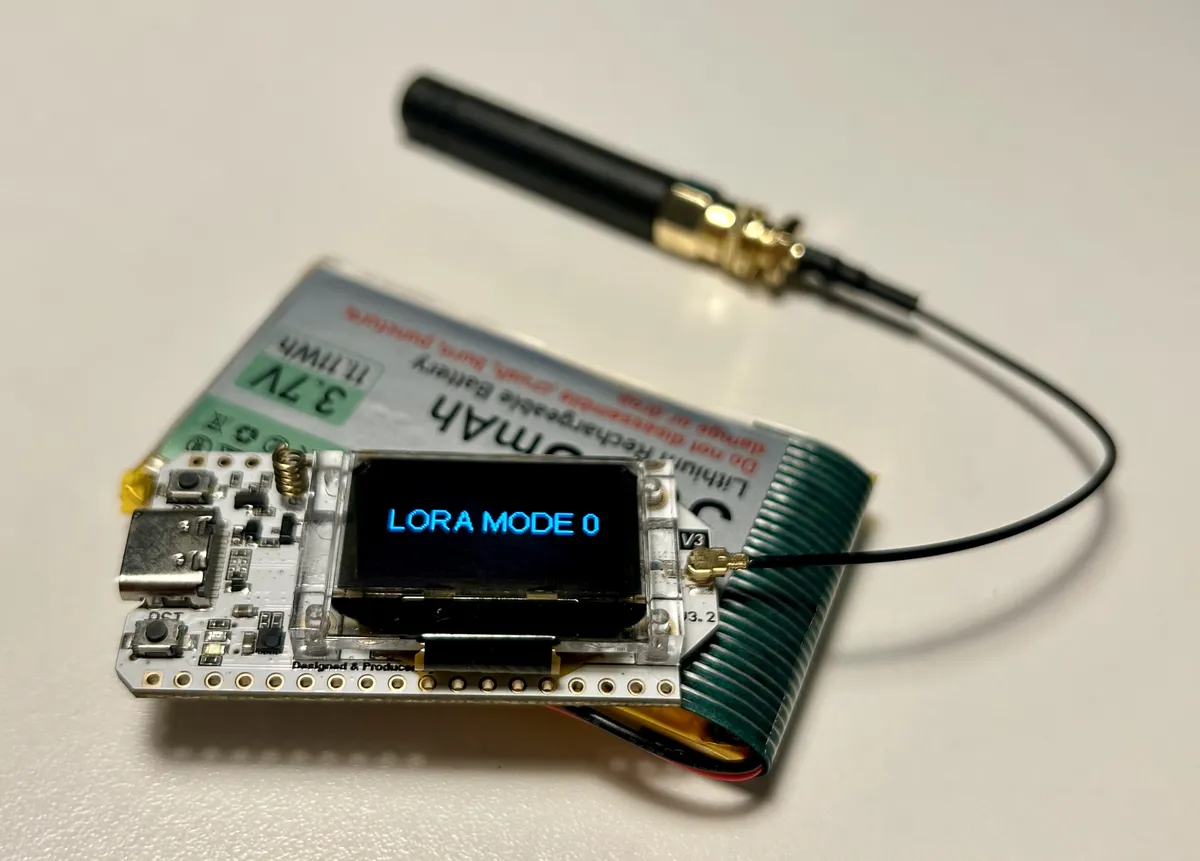
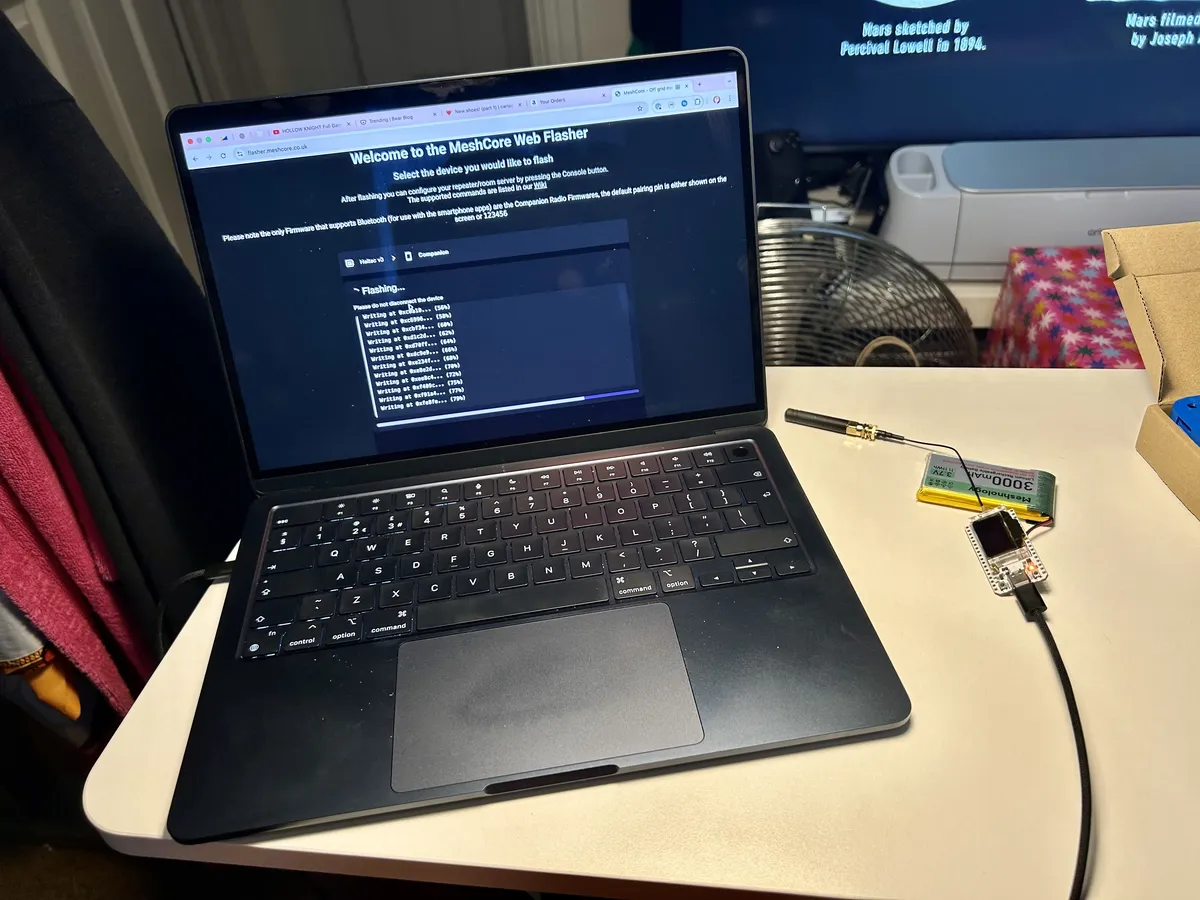
Nice! But it's not running the MeshCore software yet, To flash the firmware, jump to the web flasher and follow the instructions. I built my personal node first, so I selected the Companion Bluetooth role.
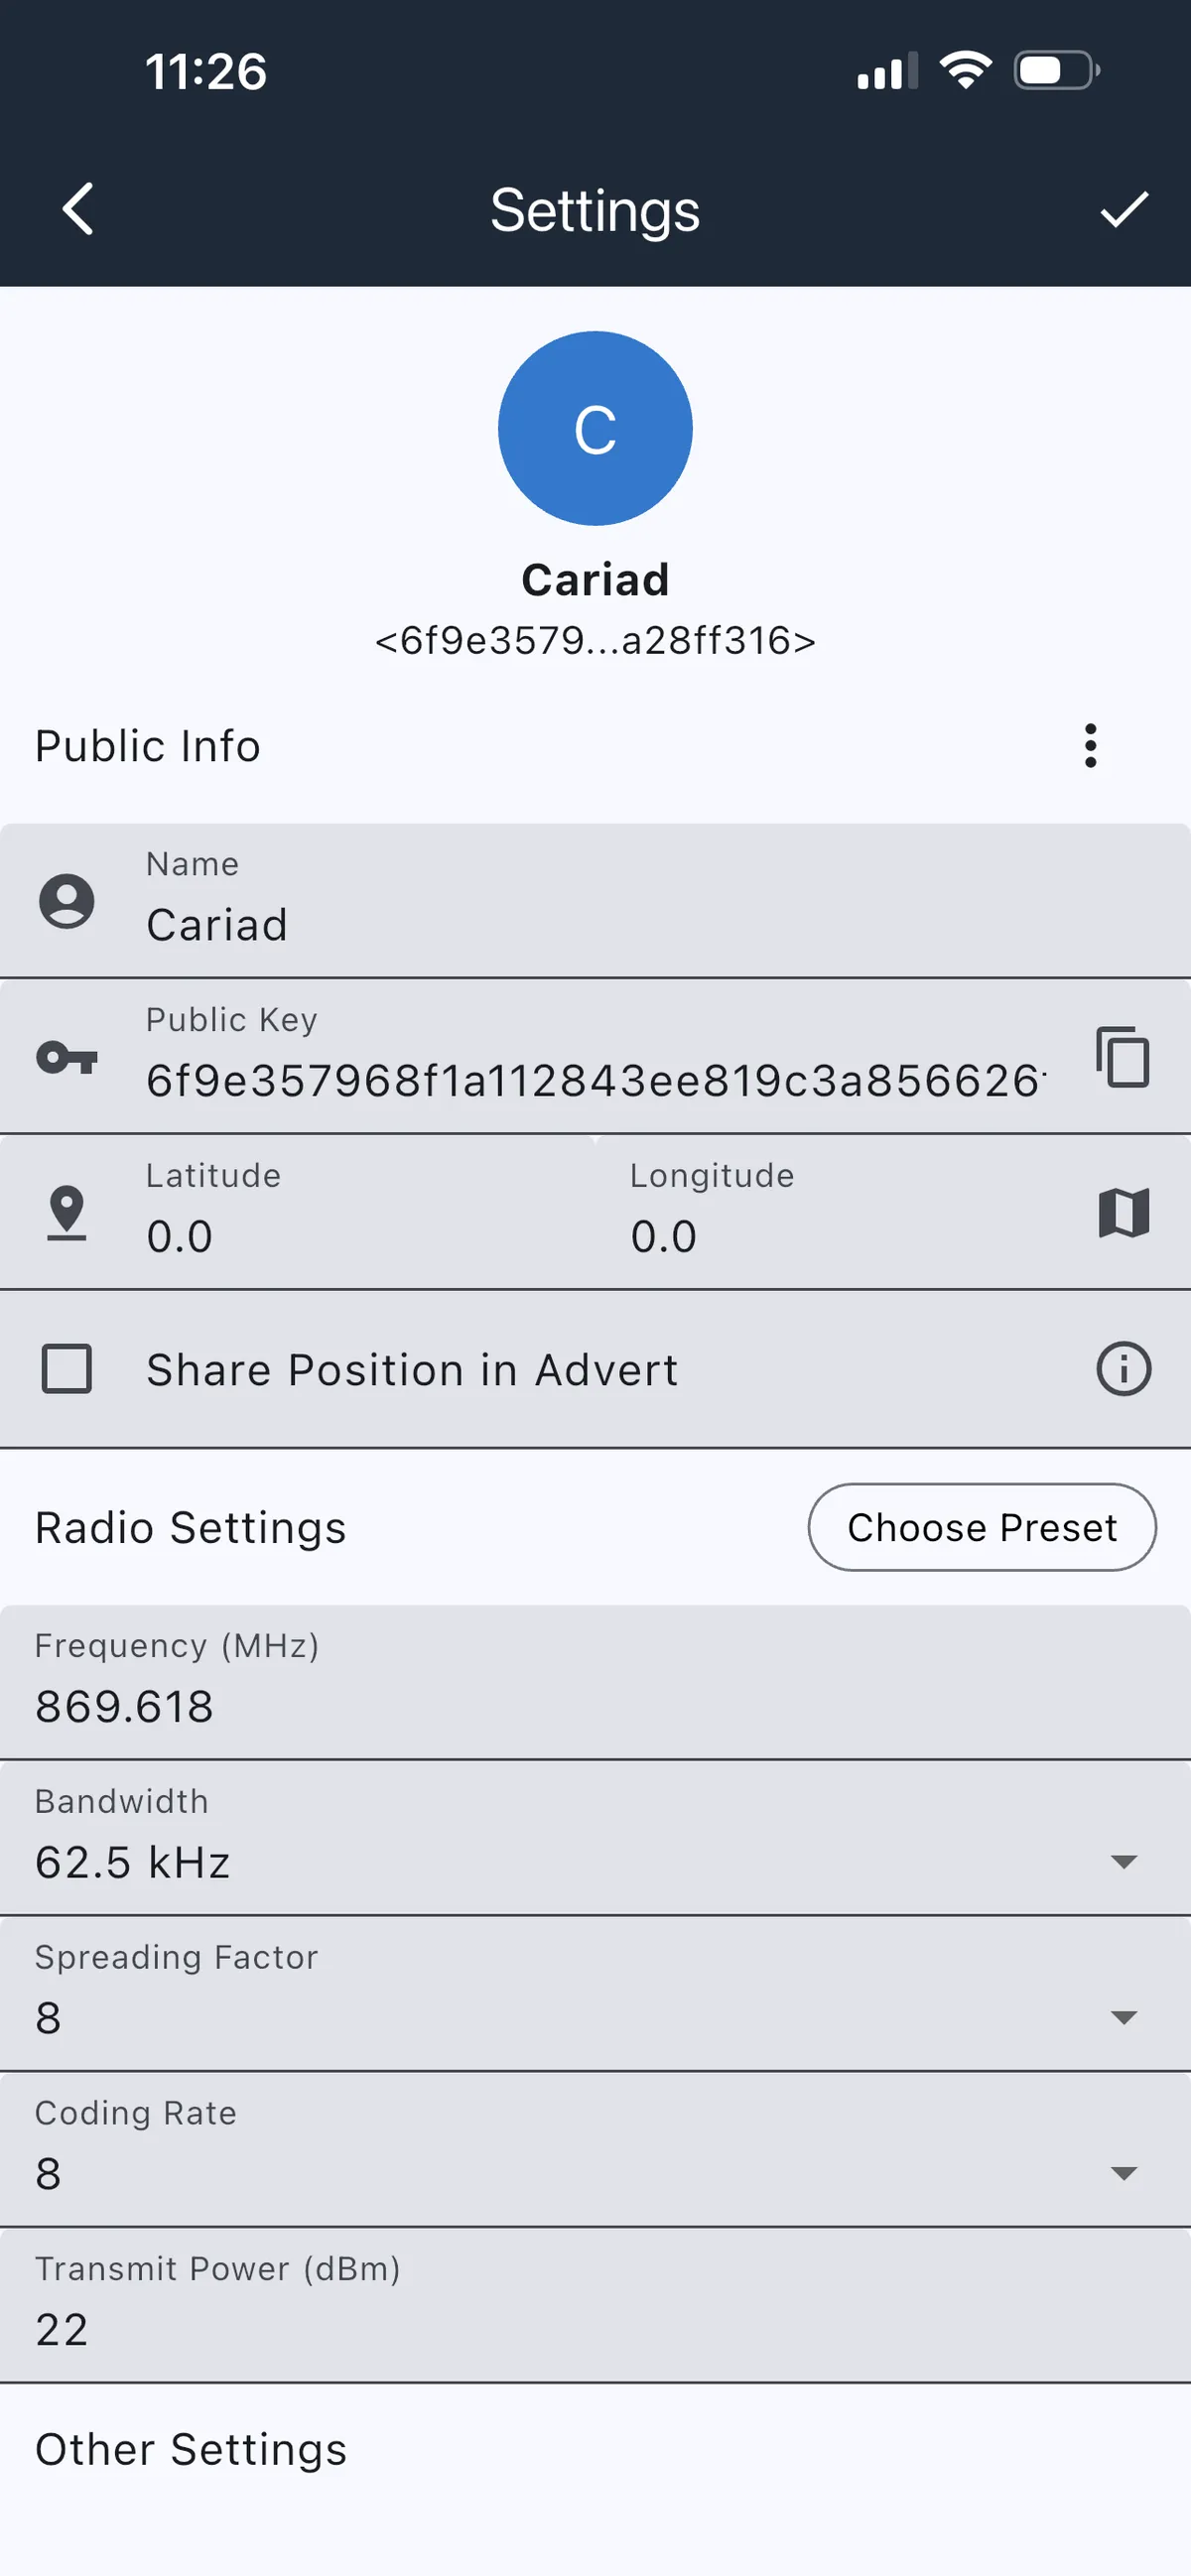
And that's the firmware sorted! To configure the node, I connected the iPhone app over Bluetooth and set the name, the Narrow radio preset, then send out a zero-hop advert to find any local repeaters.
…and I had a feeling there wouldn't be any repeaters in range. But that's okay -- there will be soon! But first, I wanted to get this node in its case.
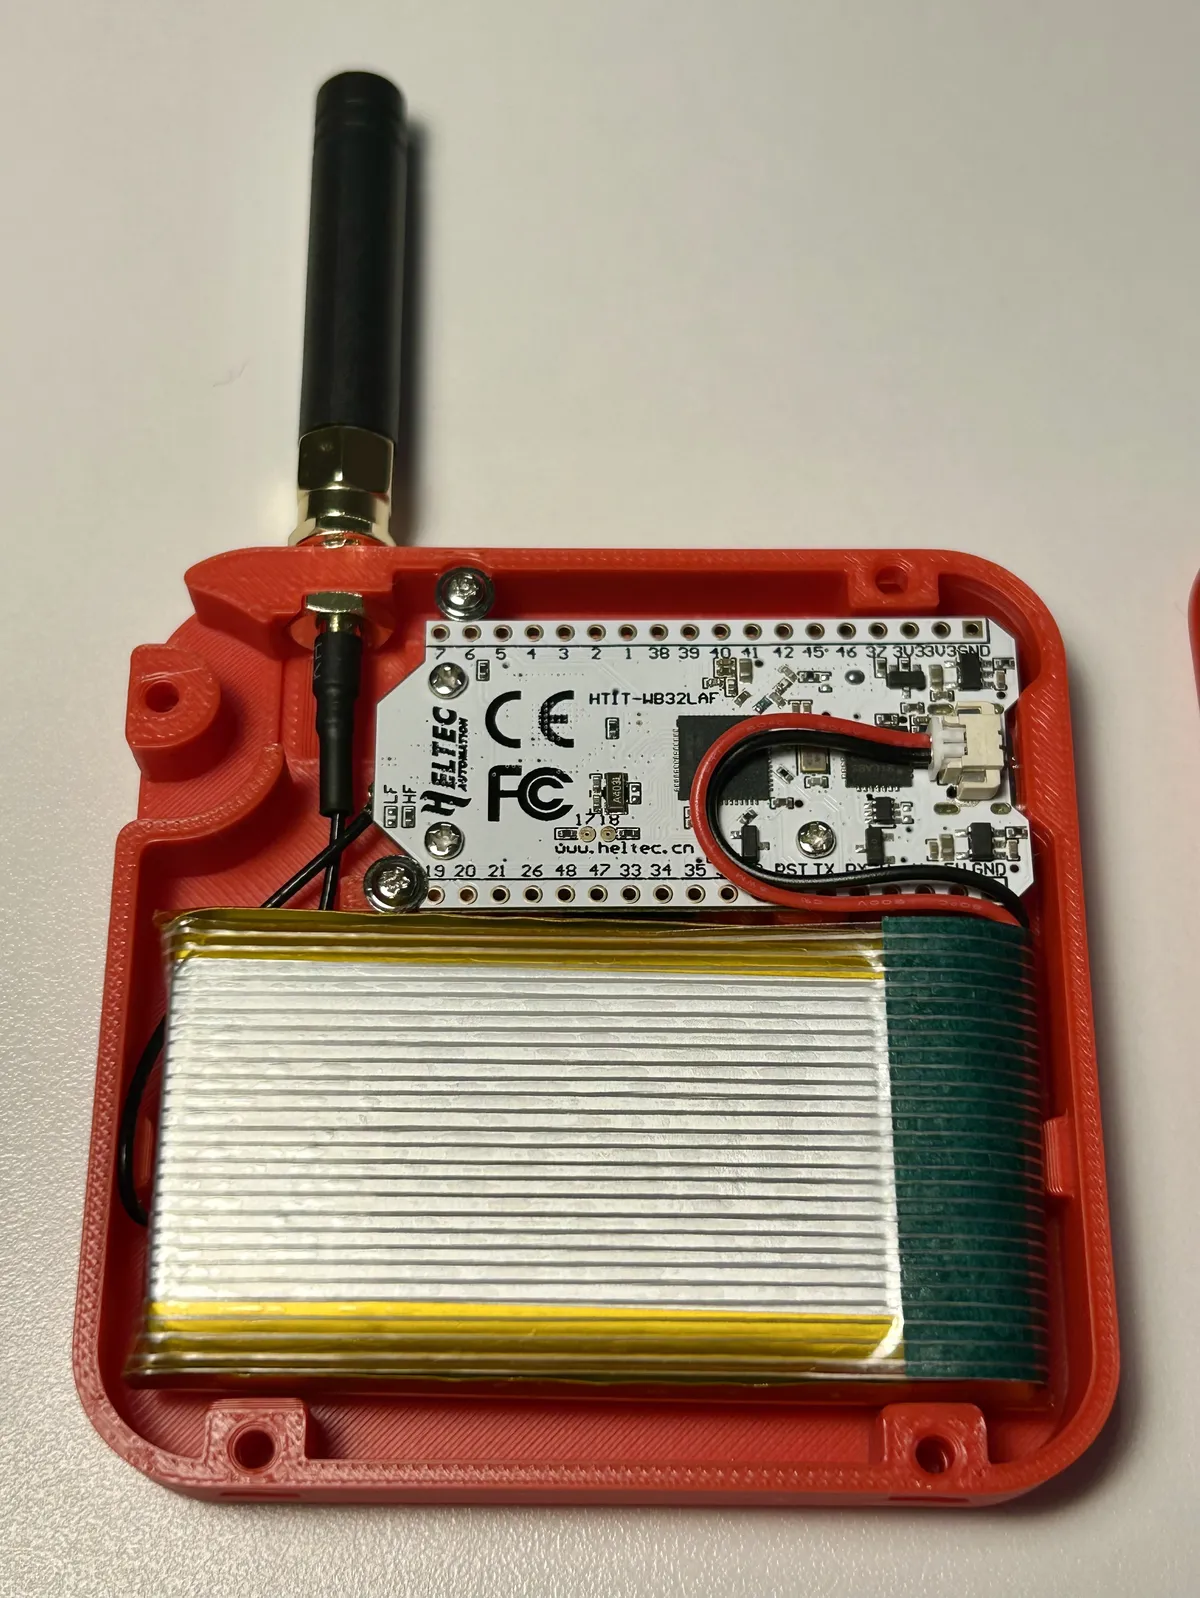
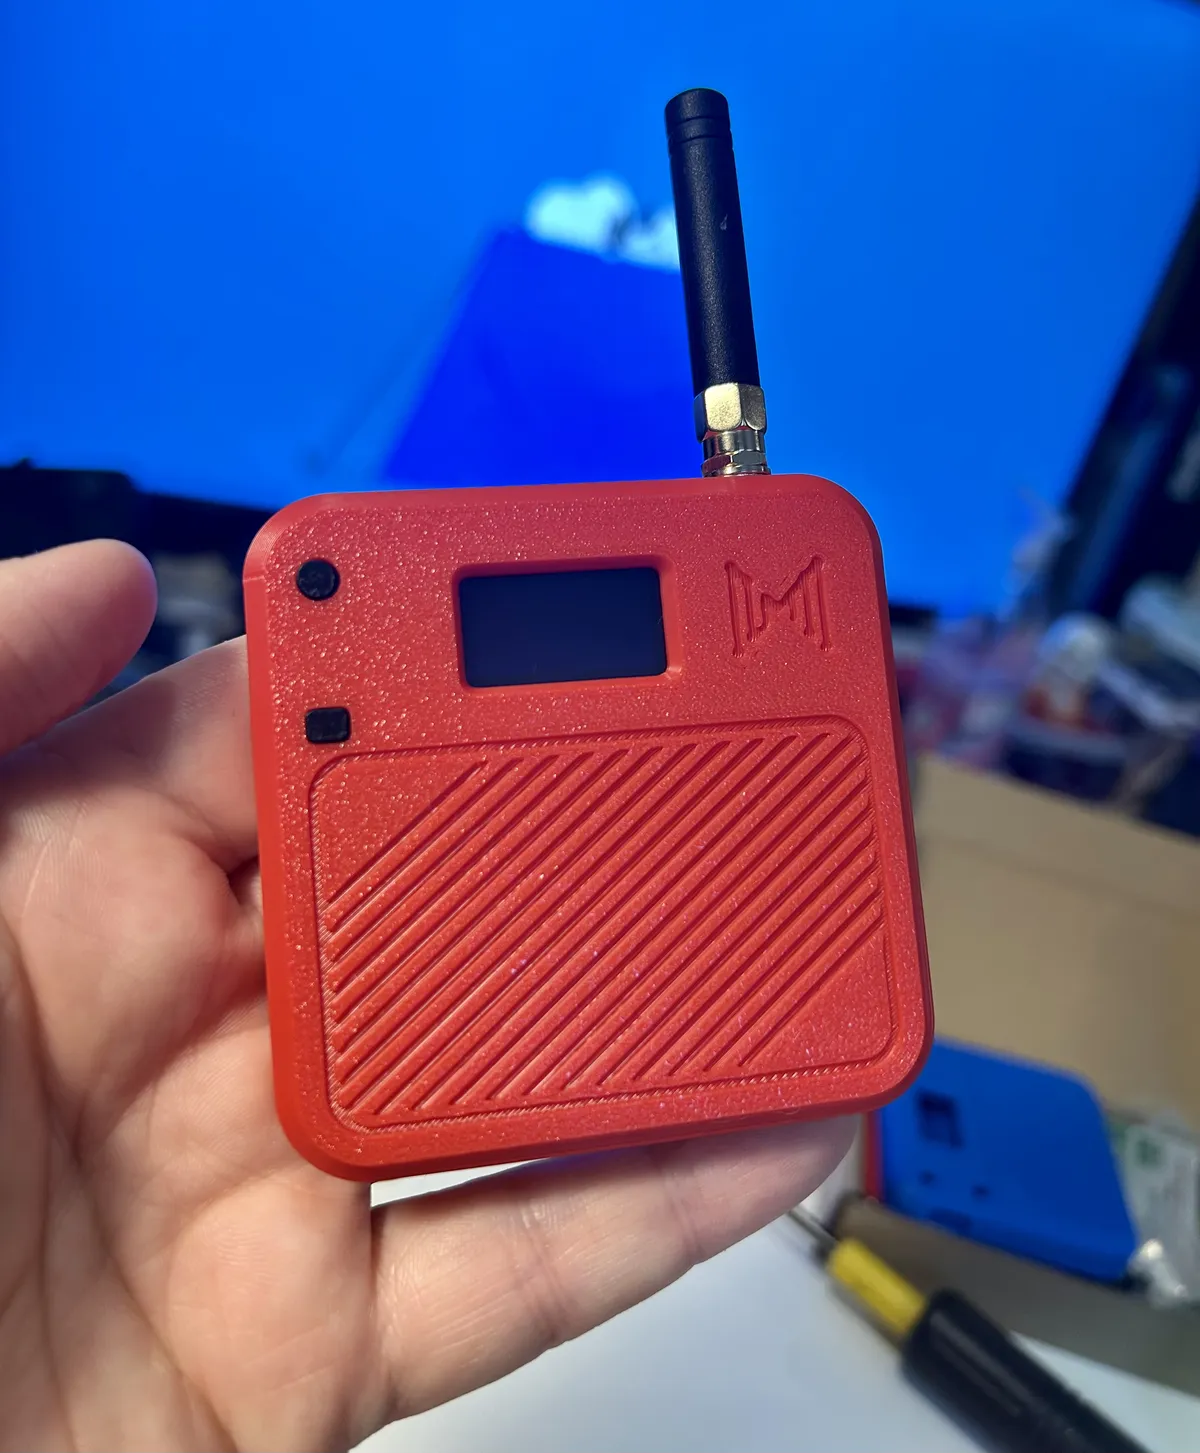
I disconnected the battery to get some wires out of the way, then got the antenna base in first. The case is shaped to lock the antenna's hex base, so it's held in place to help tighten the nut and screw on the stubby aerial.
There's a 3D-printed black rocker for the buttons, which I totally forgot to photograph but it's keyed so you can't put it in wrong. Then the board itself goes in, and is held in place by two lipped screws.
The final thing to whack in there is the battery, and the cable's short enough that it fits only one way.
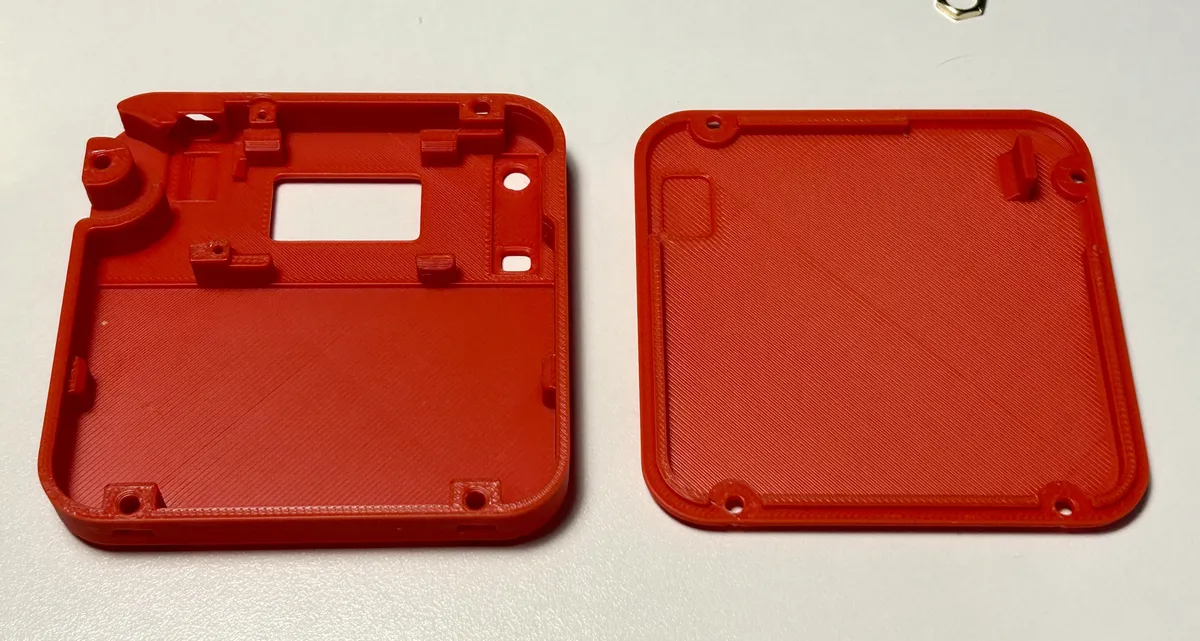
So let's screw the back plate on! Sadly for the seller, this bit isn't obvious to a ton of people. There are a few negative reviews out there claiming that the included screws aren't long enough, but that's just not true. The screws aren't supposed to bite into the printed case itself; there are metal nuts that need to be pushed into the case.
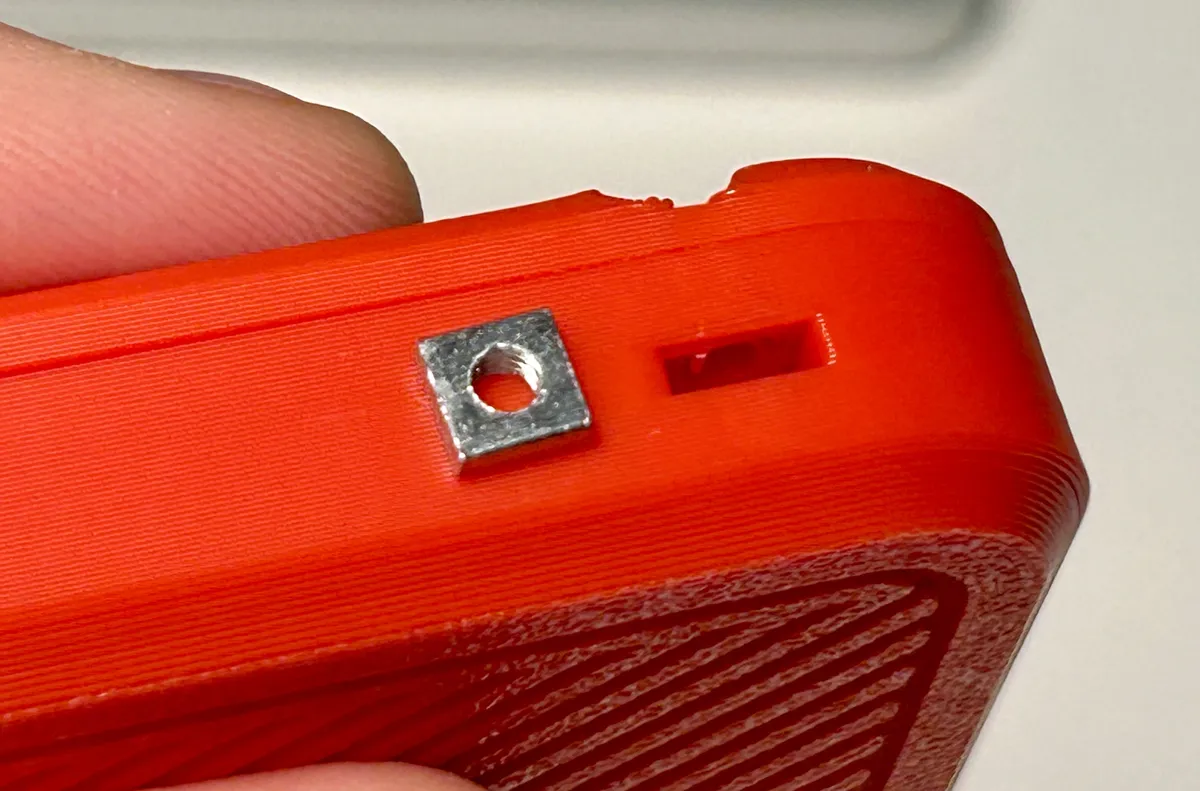
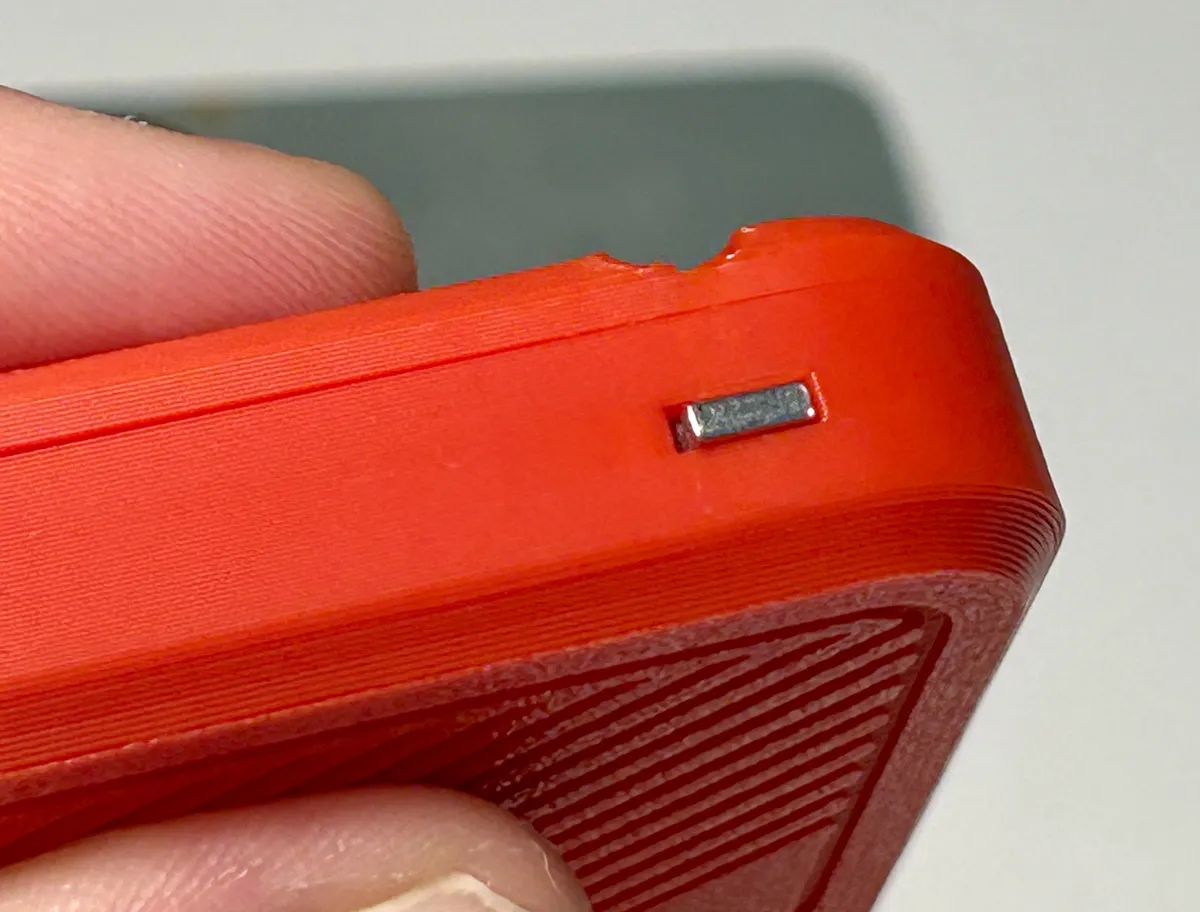
Now the screws are long enough to bite, and you're done!
Setting up the repeater was basically the same again, but I selected the Repeater role when I flashed the firmware, and I had to configure the repeater's name and radio via the web console because the repeater role disables the board's Bluetooth.
And that's about it! I stuck the repeater high-up in my bedroom window, and my personal node can see it… but it hasn't discovered any other near-enough repeaters to connect me to the rest of the UK.

Are there even any local repeaters to discover? Maybe not, so it might be a while before I spy any other souls. But until then, station Hazbin is up and running and proud to serve the good people of Exmouth!